An EGG-cellent Genetics Game

No yoke!

image

Punnett Squares are a relatively easy way to study certain inherited traits.  This activity uses Punnett Squares to determine chicken plumage (feather) colors in certain populations.


For a downloadable Instructor Sheet, Student Instruction Sheet, and Worksheets, click here: PDF of this project


Chicken Plumage Genetics Game


  • This material has been oversimplified! For a more thorough discussion on chicken genetics, check out this site.
  • It was modified from a Grade 6-12 project but I felt the game would benefit from real-world examples. Blue, for example, is a “real” chicken color.  In this project, brown would be more precisely called dun, orange is champagne, and yellow is blonde. The color changes were made as most children aren’t going to be familiar with common poultry plumage colors. 
  • As for age-appropriateness –  my 6-year-old found it far more interesting than did my 13-year-old!


Materials:

1. 2 sets of 6 different colors plastic eggs (per 12 eggs). Suggested colors are given below. image
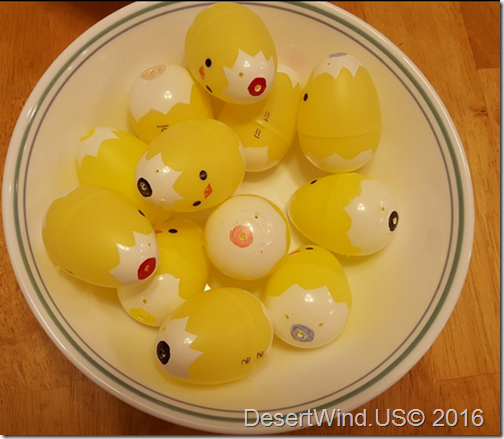
 

2. Student Key to put inside eggs: Corresponding colors of candy, buttons, centimeter cubes, or any colored manipulative that will fit, or a slip of sturdy paper with the 4 offspring color marked. If you use candy, you will have to restock each egg, if you use manipulatives or a paper key, you can use it from class to class and year to year.

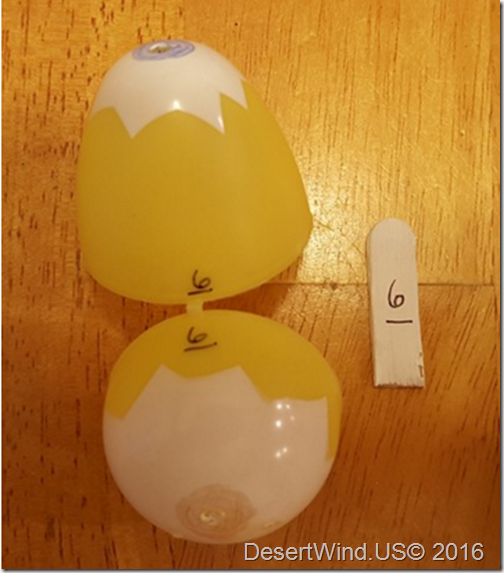
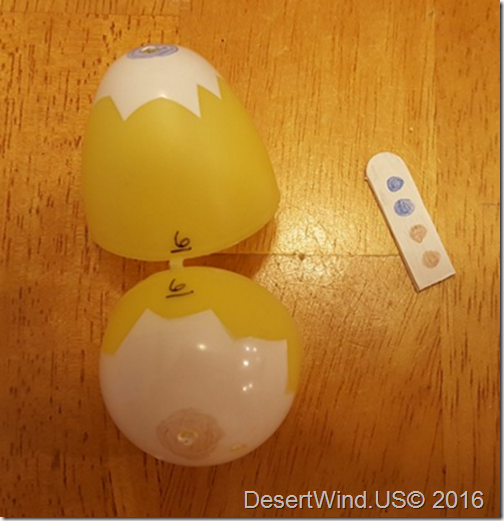
I used a half-popsicle stick for my key. Egg #6 shows a chick with a blue sire and brown dam. It has a 50% chance of having blue plumage, and a 50% chance of having brown plumage:

image

image

You might also notice I numbered everything to reduce future prep time.


3. Worksheet copy for each child.  For younger children, color in the phenotype boxes to make this less frustrating.

PDF here: PDF of this project


Instructor Preparation:

1. Introduce age-appropriate concepts of recessive/dominant traits, genotypes/phenotypes, and Punnett squares.

2. The egg shells represent the plumage color contributed by the parents – half the egg represents the Sire (father/rooster), half the egg represents the Dam (mother/hen). Use the genotype/phenotype chart to match plumage color to phenotype.

Simplified Sire/Dam and Offspring Chicken Plumage Genetics:

Genotype

Phenotype

Use:

Genotype

Phenotype

Use:

BB

Black Feathers

1/2 black egg

RR

Red Feathers

1/2 red egg

Bb

Blue Feathers

1/2 blue egg

Rr

Orange (champagne) Feathers

1/2 orange egg

bb

Brown (dun) Feathers

1/2 brown egg

rr

Yellow (blonde) Feathers

1/2 yellow egg


3. Inside each egg, place the 4 corresponding colored pieces to show offspring. You can use candy, small manipulatives, or include an answer key (color dots on sturdy paper). Set them up as follows:

Sire/Dam

Geno-type

Chicks

Sire/Dam

Geno-type

Chicks

black x black

BB x BB

4 black

red x red

RR x RR

4 red

black x brown

BB x bb

4 blue

red x yellow

RR x rr

4 orange

brown x brown

bb x bb

4 brown

yellow x yellow

rr x rr

4 yellow

blue x blue

Bb x Bb

1black

2blue

1 brown

orange x orange

Rr x Rr

1 red

2 orange

1 yellow

blue x black

Bb x BB

2 blue

2black

orange x red

Rr x RR

2 red

2 orange

blue x brown

Bb x bb

2 blue

2 brown

orange x yellow

Rr x rr

2 orange

2 yellow


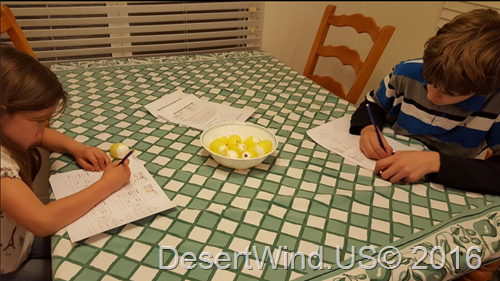
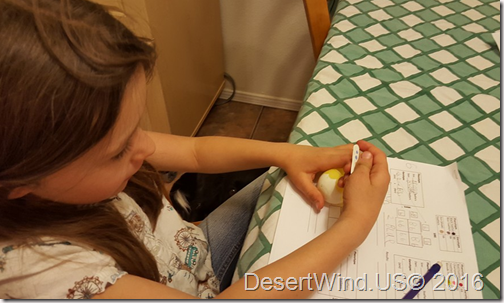
4. Demonstrate 1-2 (or more, if necessary) Punnett Squares with the children, then let them do the rest alone or in groups. When they finish each egg, have them open the eggs and check their answers!

image


This activity can be used to reinforce percentages, as well (ex: 25% of the chicks will have red feathers, 50% will have orange feathers, and 25% will have yellow feathers).

Student Instructions:

Plastic Egg/Chicken Plumage Genetics Game

Phenotype

Genotype

Phenotype

Genotype

Black Feathers

BB


Red Feathers

RR

Blue Feathers

Bb


Orange Feathers

Rr

Brown (khaki) Feathers

bb


Yellow Feathers

rr

Directions:

1. Choose one egg, but do not open it yet.

2. One half of the egg represents the plumage (feather) color of the dam (mother/hen).

The other half of the egg represents the plumage (feather) color of the sire (father/rooster).

3. Record the plumage color phenotype and genotype of your egg in the chart.

4. Place the genotype of your egg into the Punnett Square.

5. Determine the possible genotypes and phenotypes of the offspring.

6. When you are finished – open your egg! Do your answers match?
a. If yes, put the egg back together, and choose another.

b. If no, check your work, and make corrections

Example of how to fill in Punnett Squares:image


Punnett Squares (blank):
clip_image003

Categories: Kids, Science | Tags: , , | 6 Comments

Kid-Sized Geodesic Dome

What do you get when you combine:

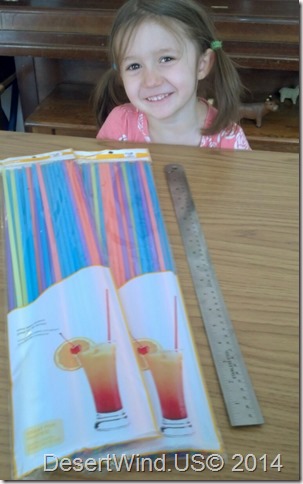
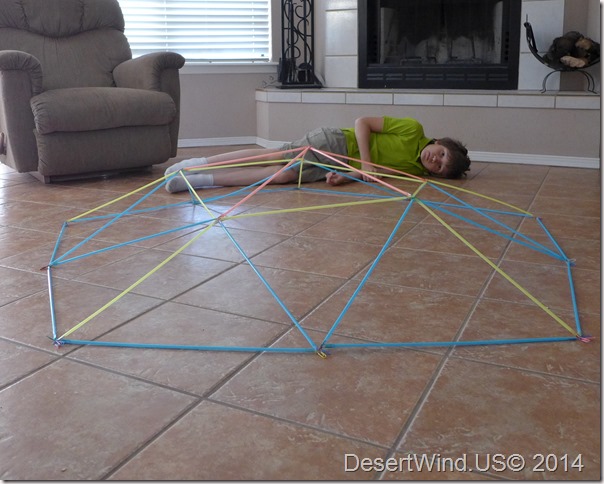
1. A chance encounter with Straws of Enormous Size:

Seriously. These are 19.5 inches long. 495 mm.


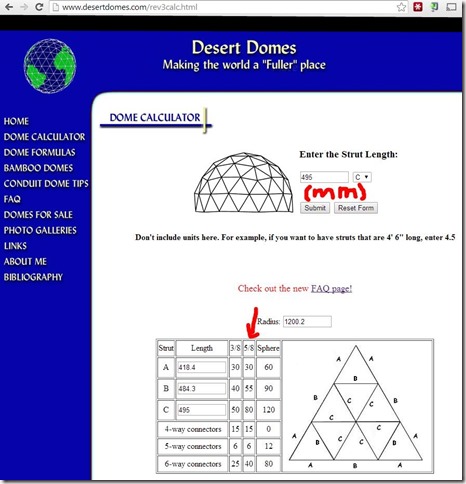
2. An awesome website, designed by a math teacher with a passion for angles:

This is incredibly geek-tastic.


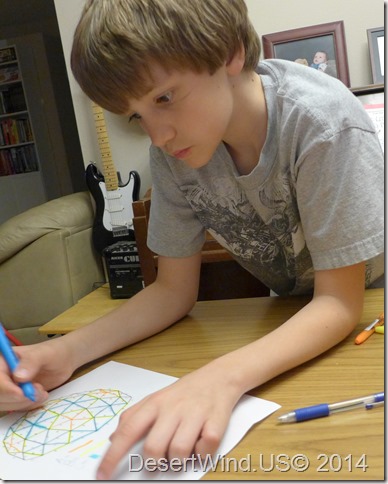
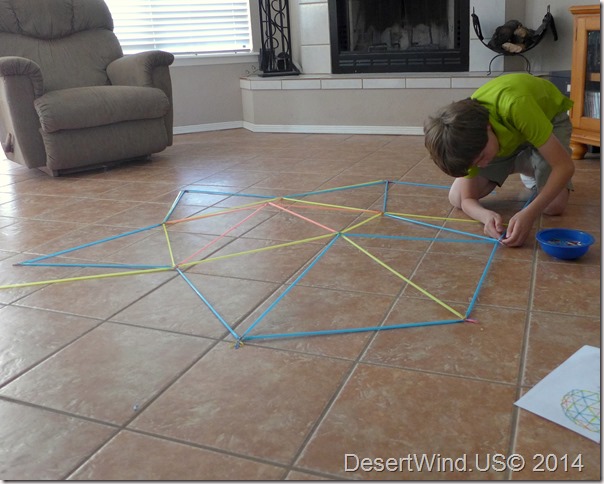
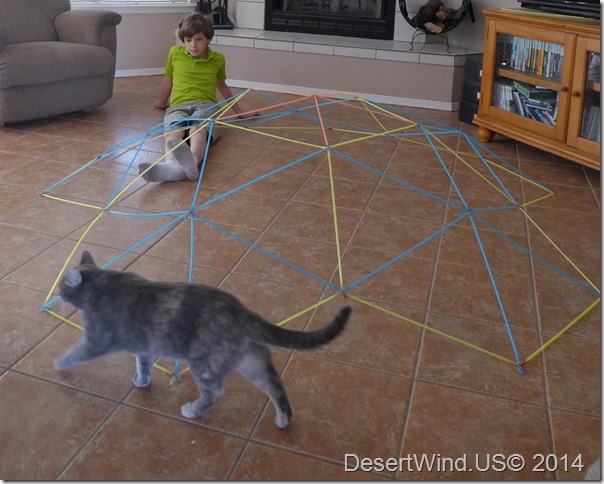
3. Cheap labor:

Plan ahead and color code.


Keep on keepin' on.


This ain't no hay-ride, l'il buddy. Back to work!


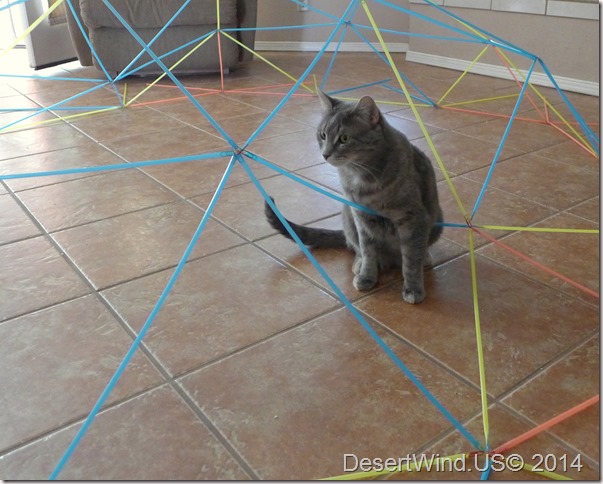
4. A really HAPPY cat?


Buying your kitty a condo is *so* yesterday.


Kitteh Dome


It's okay to love your geodesic dome, little kitty. Just don't *love* your geodesic dome.


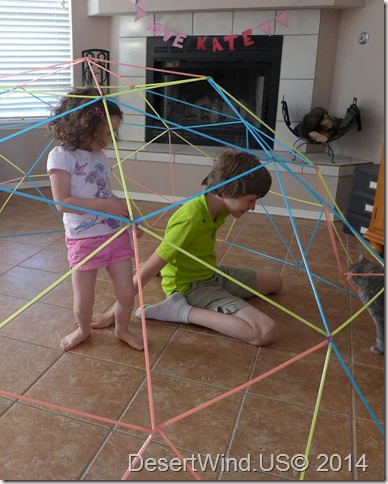
You get kids who know the power.

What power? Power of triangles!

Who do? They do!

(I apologize).

Now I've got to watch Labyrinth.


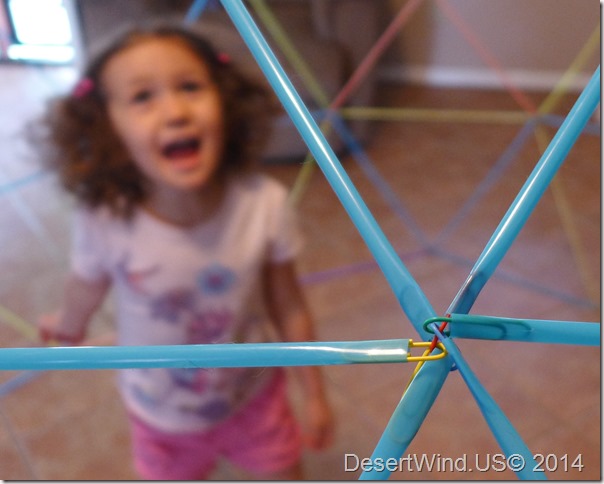
Because it’s possible that you are wondering how we accomplished this incredible feat, this is how the straws were connected:


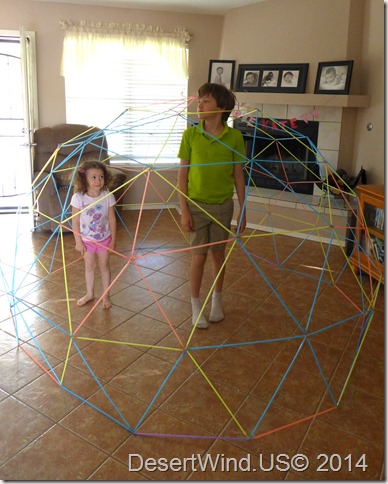
Paper clip connectors fit into straw perfectly. Mostly. Cute child in background bonus.

Categories: Crafts, Kids, Pets, Science | Tags: , , | 1 Comment

Explaining Plate Boundaries

There are three types of Plate Boundaries:

1) Convergent (Plates move apart)

2) Divergent (Plates move together)

3) Transform (Plates slide past each other)

The first two are relatively easy to demonstrate, but transform boundaries can be confusing to students of all ages. There are many different models available, but I wanted one that was easy to set up and leave in the lab for quick use as-needed.

This activity actually demonstrates two of the above plate boundaries: Divergent and Transform.


Materials:

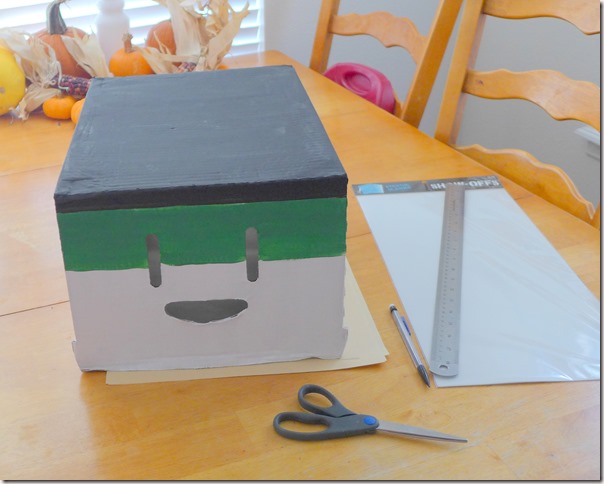
· Box (you may paint it, if you’d like. Consider black for mafic ocean crust, and green for the underlying ultramafic mantle).

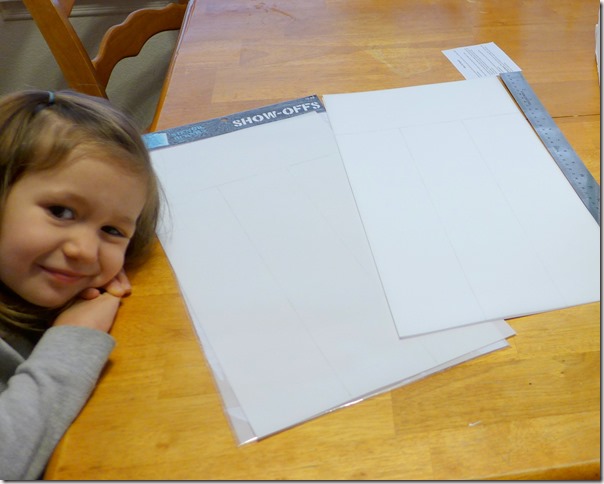
· Stencil blanks (I found a package of 3 9×18” blanks at Hobby Lobby for $2.99)

· Ruler, Pencil, and Scissors

· White Board Marker for drawing in sense-of-direction on the “ocean floor”


Procedure:

1. Paint box, if you care to. I used acrylic paints, which are cheap. I used a tomato box, which was free. The tomato box had the added benefit of looking quite cheerful, and he almost looked as if he was wearing a bandana. I mean “it”. Almost as if IT was wearing a bandana.

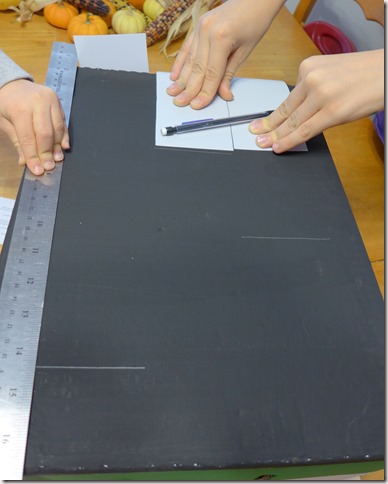
P1040817

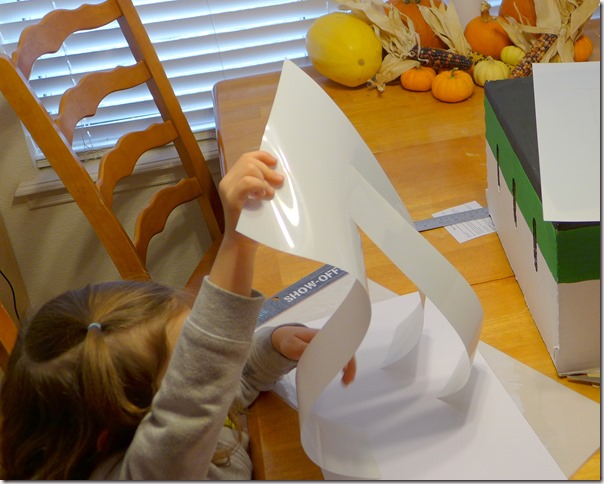
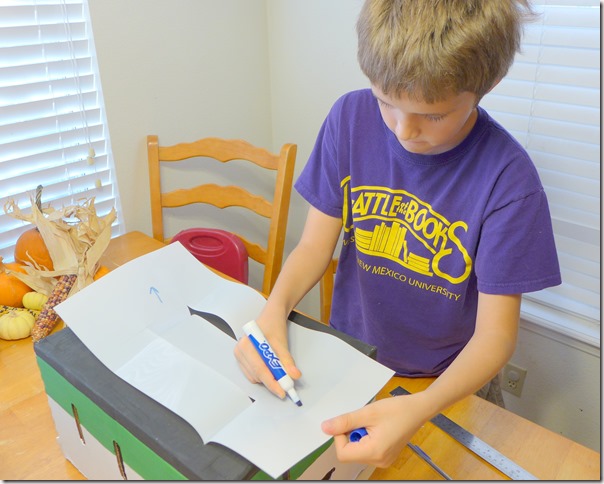
2. Make the “plates”. For each plate, you will use one of the stencil blanks. Reserve a 3-4” strip at the end of your blank. This is the Plate-as-a-whole, which will move away (diverge) from the second Plate-as-a-whole. The rest needs to be cut into three attached, but equal-width strips.

P1040818

3. Now’s probably a good time to mention that one should always measure first, and cut second. Cheerful children AND a cheerful box – can life get much better?

4. Thing #2 Demonstrates a finished plate.

P1040820

5. We used the ruler as a spacer, and used the strips as a guide to draw in 3 guide- lines (which will be cut in a few minutes). We had 3 strips, so we need 3 slots for those 3 strips. Don’t line them all up in one spot. We alternated a bit.

P1040823

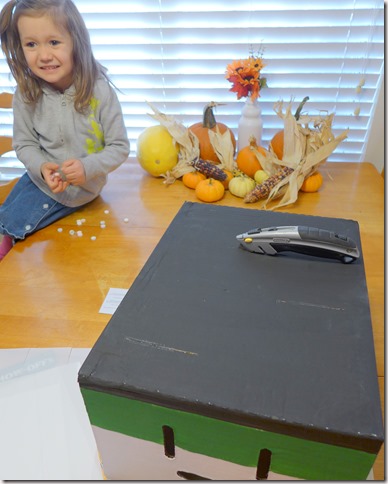
6. Feed Thing #2 a piece of candy from her Halloween bucket, because she’s been a good helper. Also, it keeps her away from the safety cutter, which, while safER, is not necessarily something I want my Thing #2 to play with.

P1040824

7. Using the guide-lines to, well, guide you, cut the slots into your box with your box cutter. You’ll probably need to widen the cut a little bit so that the plate strips fit in easily. I widened the slots by shoving my ruler down into the slots and sliding it back and forth. I didn’t take a picture of this process because it’s rather brutal and not especially professional-looking, but I’m not above sharing the secret. Just above photographing it.

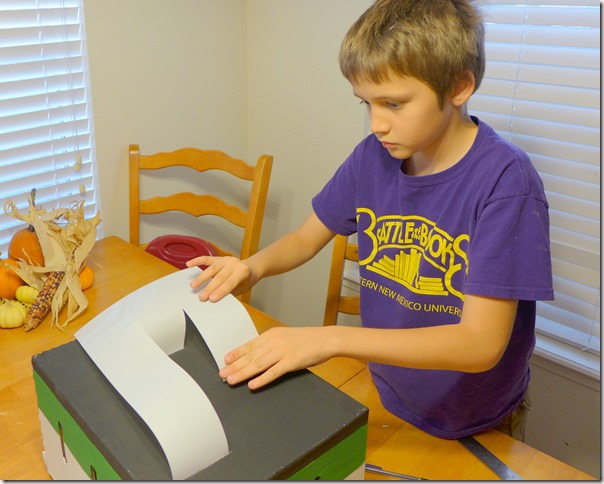
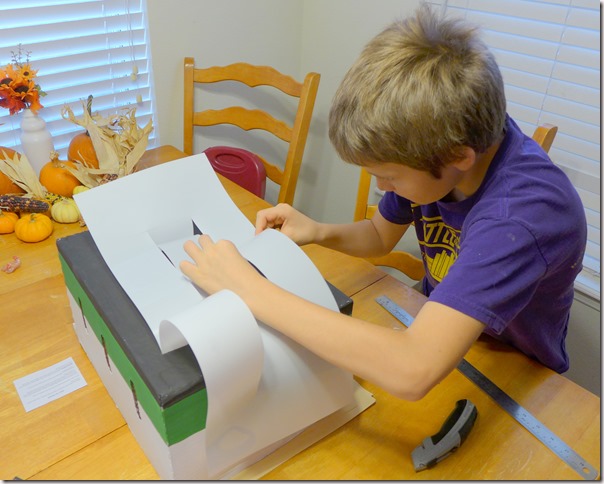
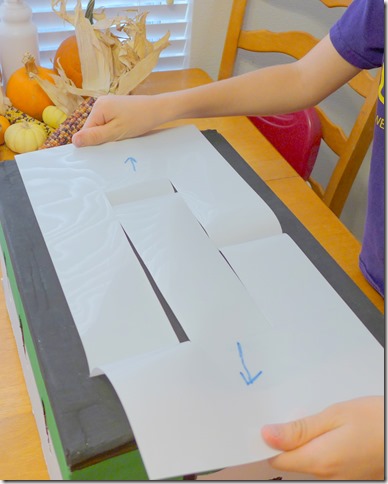
8. Slide a plate strip, shinier side up, into the slots. The slots are now your mid-ocean ridge (in other words, your divergent plate boundary)

P1040827

P1040828

9. You’re ready to go.


The activity itself:

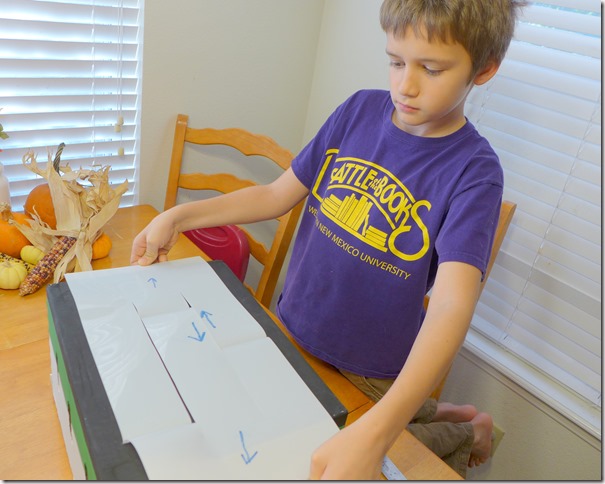
1. One student/participant/thing can pull both plates away from each other, or they can share the honor. Have him/her pause, and draw in arrows showing the direction of motion of the Plate-as-a-whole.

P1040830


P1040831

2. Now, continue pulling the plates apart, but this time, look at the point where the strips are sliding past one another. Draw in arrows showing the direction of motion on these strips.

P1040833

3. What do you observe about plate motion in these regions?

The student/participant/thing should notice that in this localized region, the plates are not moving away from each other (as in a divergent plate boundary), but rather, alongside and past each other, in opposite directions. This is called a Transform boundary, and can be observed when one type of motion (like divergence) is transformed to another type of motion (like shear).


4. Find a map of the ocean floor, or one like this, from NOAA.gov : http://sos.noaa.gov/ftp_mirror/land/sea_floor_age/shaded_veg/media/thumbnail_big.jpg

Can you find the transform boundaries along the divergent plate boundaries?

Categories: Kids, Science | 3 Comments

The “Only a Little Wet” Syndrome

*Previously published on The Cloth Diaper Whisperer* I am the original author.

I developed a bad habit in my former life as a ‘sposie user. Time and time again, I’ve seen parents leave a disposable diaper on the baby “just a little longer” -and I’m embarrassed to admit I was guilty of this – because it’s “not that wet”.

The truth is, even the “stay dry layer” doesn’t leave the baby dry. More comfortable, yes, than no layer at all, but not dry. Of course, a parent could get away with less frequent ‘sposie changes because superficially the baby seems dry (that is, their jammies aren’t sopping yet), but just because those disposables absorb more fluid than most children can produce over the course of a few hours doesn’t mean we need to play a game of chicken with the diaper to see who will give in (give out?) first. There was an episode of Malcolm in the Middle where the dads had a contest to see whose baby’s diaper weighed the most. It was funny on TV (I just loved Malcolm in the Middle) but not so funny in real life.

How did so many of us come to believe that it’s okay to let our babies sit in their own urine for extended amounts of time just because the disposable “doesn’t feel that heavy”? I believe that the high cost of disposable diapers has trained us to change diapers less frequently in a twisted desire to get the most value out of our purchase. Disposables run $0.20 -$0.30 each (that’s the cost of an entire roll of toilet paper!), so changing just a few extra ‘sposies per day can cost an extra $20 -$40 per month (and for bigger families, just multiply that by the number of children in diapers). That’s an entire mega-case of ‘sposies every month! That’s a few trips to Starbuck every month. As parents, we try to be frugal, and since advertising has convinced us that disposable diapers stay dry next to baby, we tell ourselves that it’s an acceptable (and even sensible) practice to wait until a diaper is noticeably wet before being changed. The bad habit becomes ingrained and can be unconsciously carried over to cloth diapering.

If this sounds like you, free yourself of your bad habit! You are no longer at the mercy of your $0.25 ‘sposies! The cloth diapers are already paid for and they are re-usable. In fact, the MORE you use your cloth diapers, the more value you get from them! (If you spend $500 on your cloth diaper set-up and change an average of 10 times per day for 2.5 years, your diapers cost a nickel per use). Let’s wipe, er, eliminate, er… DISPOSE OF the phrases “not that wet” “not that full” and “only a little wet” from our vocabularies.

Tip: One way to get an idea of how often your baby really wets is to put her in a coverless fitted, pinned prefold, or pinned flat for a day (or for a few days). Try to base your changing habits on the results of that experiment, rather than your experience with disposables.

Categories: Cloth Diapering, Kids | 3 Comments

Been there, done that, survived.

I could try to say something inspiring here, but I won’t. If you are a parent and have made the decision to go back to college, you already know why you’re doing it and that you’ve got your work cut out for you.

Here are some words of wisdom and advice from some pretty incredible parents. You’re not alone.

These comments are quotes from about 15 non-traditional students.

  • They are earning/have earned Associate’s, Bachelor’s, Master’s, and Doctoral degrees.
  • They study/ied healthcare, accounting, anthropology, journalism, criminal justice, biology, photography, and education.
  • They have between 1 and 5 children, from newborn to high school senior.
  • Some are stay at home parents while others work full time. One worked two jobs.
  • Several are single parents. Two are military spouses.

TIPS:
On organization and study time

  • Naptime! Easiest time to study, but I also set the two little ones at the table with me with their books and crayons, and they do work right along with me.
  • Approach school like it is a 40 hour per week job. If you plan and schedule time to write, time to read, time to study (instead of letting it creep up on you), it is completely manageable.
  • Schedule your study time.
  • Stay at the school for an extra hour after class, before you go home.
  • Work on things between classes.
  • Papers and homework were done after the kids went to bed.
  • Never underestimate the power of Play Doh to keep the kids playing while you study. And Legos – thank GOD for Legos! They hurt to step on but keep the kids entertained for nice, extended periods of time.
  • I’m strict with the schedule, but I try not to stress when it doesn’t happen.
  • I think the biggest thing for me was involving the kids in the study time… we went through a great deal of crayons and coloring books for a few years and then picture books.
  • I have a hard time maintaining focus if the kids are doing something fun so I usually lock myself away in the backroom and turn on a fan to drown the noise when I study.
  • I always study in the morning, cuz I’m dead by the end of the day!!
  • Late night studying and lots of coffee.
  • Use a dayplanner.
  • My kids know my study partners and classmates so we’d go out and have as much fun as we could (hiking, going out to eat, inviting them over) but all the while my cohorts and I would be discussing what was going on in our classes.

On asking for help

  • One word: Grandparents. I would study in big chunks while they were at the GPs for the weekend, playing with cousins/neighbors around the house. My kids are older so they don’t as much attention as a newborn/infant/toddler
  • Don’t be afraid to ask for help.
  • It’s okay to call a friend ask them to come to the rescue.
  • It’s critical to explain the demands that you will be under to your family in full detail and what it means to you to go back to school, your dreams, etc.
  • Have your husband take the kids to the park or to Best Buy or something so you can study.


On housework

  • Ignore the laundry. Undergrad and grad school is one of the few times where you can completely pull off dark circles, greasy hair, and dirty underwear.
  • Don’t be afraid to ask the older kids to play with the younger kids so you can get some of the work done.
  • Assign household chores to everyone in the family – We used our dry erase board to list the chores. My kids are greedy and the only way they get an allowance is to do the EXTRA chores; they don’t get paid for their everyday chores.
  • It’s really okay if your bed isn’t made for a week.


On healthy-ish meals/snacks for the kids

  • The Crockpot is your friend.
  • Keep the bottom drawer of the refrigerator filled with snacks – it’s the kids’ free-for-all area where they don’t have to ask for permission. Keep it filled with juice boxes, apples, oranges, carrots, raisin boxes. Add a couple fresh sandwiches every few days.
  • Two words… FROZEN MEALS. Yes, those prepackaged crap things you buy for a buck. Love them. Deal with them. And recognize, either you can study and get to class, or you can feed them organic. Since the rest of the worlds is alive while not eating organic, I figure, they will survive too. lol


On sleep

  • What’s that?
  • Large doses of caffeine mixed with small parts of insanity and shake until blended. Lol
  • I was always tired.
  • Do not try to read textbooks in bed (snore)
  • Sleep like the dead on breaks.


On rewards

  • Celebrate small successes. When you get a A on a paper or test (or your kids do) celebrate together with some sort of treat.
  • Know when to take a break.


On dealing with employers

  • Speak with your boss. They are going to have to be willing to work with your availability.
  • My current struggle is working full time… Overnights. It’s wrecking havoc on my scheduling. If I’m home, I tend to be unconscious.
  • It’s tough trying to juggle a full time career, full time school schedule, and your family but it can be done.


On dealing with instructors

  • Keep open communication with your professor throughout the semester, so If Junior gets gets deathly ill you can call them. Don’t just skip out on exams. Professors are human and they understand that life throws you a curveball sometimes.


On miscellaneous realities…

  • Acknowledge you won’t be able to get to every field trip, parent’s night, etc. Do your best and recognize you are setting up things for your children to have a better life when you are through. There is no room for mom/dad guilt here. Employ help when possible to meet those demands.
  • There is no option for breaks, Students loans become due, and the quicker we are done, the better. Sometimes you just have press on and determine it’s what needs to be done. One can only take a break from school for so long (I took a two year hiatus over child care) before you just have to bite the bullet and get it done.
  • How do parents do it when both work AND both are in school? Talk about caffeine and insanity, and let me add, a good therapist!
  • With four kids, no matter HOW many times I asked them to let me study, at least ONE little person would have an “emergency” if they knew I was in the house.
  • We have no family around to help. That was our toughest part. Childcare costs and the nerves associated with it were overwhelming at times hindered the process.
  • I continued to work full-time to keep medical benefits, I had to change into my scrubs in the car. I think back then I was just on autopilot. I did what I had to do.
  • Be willing to accept less than a 4.0 but strive for it.
  • Saturday and Sunday are not days off, just more errands and chores at home and study time. Lose your life, it now becomes school, school, and yeah household chores.
  • Yes, you will feel like you’re neglecting your kids, but remember you’re doing it for a better future for the family.
  • It’s worth it.


Categories: Uncategorized | Tags: , , , , | 3 Comments

Acids and Bases: Red Cabbage pH indicator

The school year has started back up, and that means it might be time to start thinking about upcoming science fair projects.

Don’t even think about building a Baking Soda/Vinegar Volcano.I’m not kidding.  Step. Away. From. The. Volcano.

However, if you/your child is interested in acid and base reactions, this is a good first step towards a science fair project that won’t make your teacher want to shut herself in the broom closet and sob quietly for the rest of the day. It is NOT a science fair project by itself * but it can add an extra dimension to an Acid/Base experiment.

Purpose:  To create a homemade pH indicator, that will let us know if the material we want to work with is an acid or base.

Materials:

  • Knife/Blender
  • Microwavable Bowl or large pot
  • Water
  • Strainer or coffee filter
  • large jar
  • at least 1/2 red cabbage


Method:

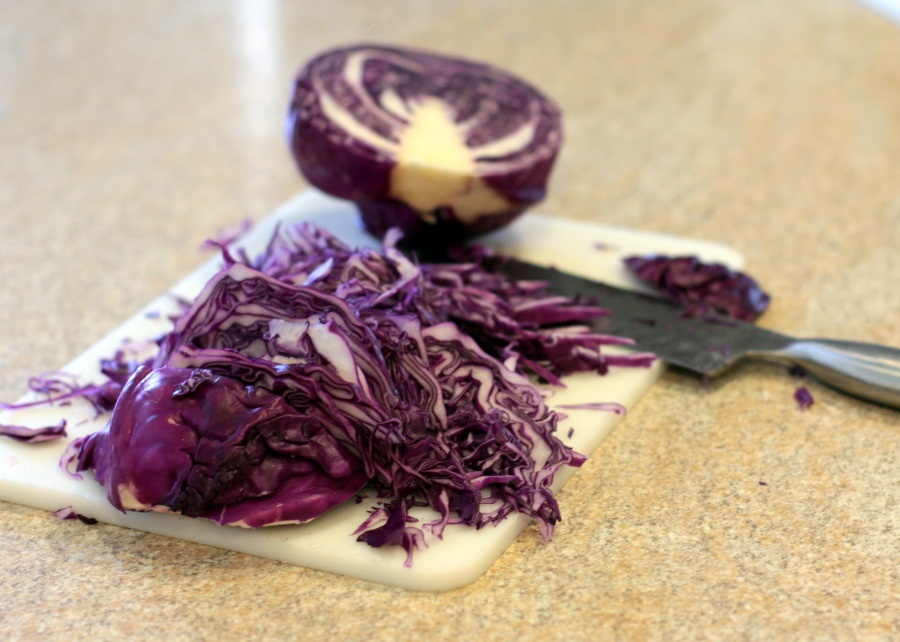
  1. Chop your cabbage up. I suggest cutting pretty small pieces, but not so small that you need a coffee filter to filter out the solids after you finish.  It’s best to chop them large enough that you can use a fine colander or s
    trainer to filter out the pieces. You can certainly ignore that suggestion and use the coffee filter, but my way is easier (and faster). 
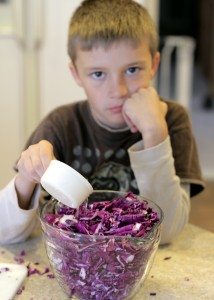
  2. If you want to use the microwave, put the cabbage in a large, microwaveable bowl. Add enough water to almost cover cabbage, cover the bowl, and microwave for 3-5 minutes. Don’t leave it unattended; if the cabbage water begins to boil over, turn the microwave OFF and consider the cooking portion finished. Let cool. See how my overly-excited boy is enjoying himself?
  1. If you want to use the stove, put your cabbage into a large pot. Add enough water to almost cover the cabbage. Bring the water to a boil, and boil for no more than 3-5 minutes. Don’t leave it unattended; if the cabbage water begins to boil over, turn the stove OFF and consider the cooking portion finished. Let cool.
  2. A third option involves pouring boiling water over your cabbage (till almost covered), and covering. Let sit until cooled.
  3. A fourth option, which I’ve seen used in schools, is to put all of the cabbage in a large ziplock bag, add hot tap water, seal it and leave in the classroom sink or a tub, overnight. In the morning, cut a corner and let drain into a jar.
  4. Using the coffee filter, and or strainer, drain the (cooled!) water from the cabbage into your clean jar.
  5. If your homemade indicator solution appears to be too dilute, you can boil it down until it’s as concentrated as you’d like. It won’t hurt the indicator.
Your water will be a deep purple/blue, depending on the pH of your water. It should be fairly close to pH=7 (Neutral).
Recall: pH=1-7 is acidic.  pH = 7-14 is basic.
Now, for testing (Boo had a lot more fun testing items, than he did creating the pH indicator solution):
  1. Pour 1-4 T of the substance you want to test into a clear or white bowl/small glass/test tube. ‘Cuz we should all have test tubes lying around the house (see mine?)
  2. Add a few drops of your homemade indicator solution to the substance you want to test.
  3. Swirl gently to mix (especially important if you test something like Clorox Bleach. Be careful and use common sense when testing any substance!) Add a few more drops if you’d like, to see what will happen.
  4. Very generally, the indicator will turn shades of pink in the presence of acids. The indicator should turn blue, then green, and finally yellow in the presence of bases.


Categories: Kids, Science | Tags: , , , , , , , , , | 3 Comments
Fried Bread


Mom called these scones; most just call it fry bread.  They are a summer tradition in our family; we grew up with a coal/wood burning cookstove,and baking bread was completely out of the question in the summer months. Fry bread, however, was not. 

If you’re not up to making your own dough, you have several options. You can purchase frozen dough out of the freezer section at your grocery store; you will need to follow the thawing/proofing instructions on the package. You can also go up to the bakery section and ask for an unbaked loaf of bread (um, dough). The baker will look at you strangely. Tell her to put it into a plastic bread bag and slap the bread price label on it. You get your dough with no hassle, and she gets a great story to tell her family when she goes home that night (mind you, I doubt you’ll come out of the telling looking like the next Einstein).


If you *are* inclined to make the dough yourself, you can use your favorite white or wheat bread recipe. I use the Better Homes and Garden’s White Bread recipe for fry bread, excepting I replace the milk with water, and I use oil instead of shortening. This allows you to skip the heating/cooling step by using warm water in the first place. AND you won’t notice the difference once you slather the fry bread with honey butter, homemade jam, or chili (Yes, I said chili. Welcome to the West!)


I use my Kitchen Aid stand mixer (a $75 refurb minus a birthday check = $25, woohoo!) to mix the bread; it cuts down on kneading the dough. Sometimes I knead it anyways, but it’s really not necessary with fry bread.

blogbread1


After your done kneading dough* , place it in a bowl, and let rise in a warm place till double. If you  bought frozen dough, follow the directions through the first proofing. If you bought bakery dough, jump right in here. NEXT:

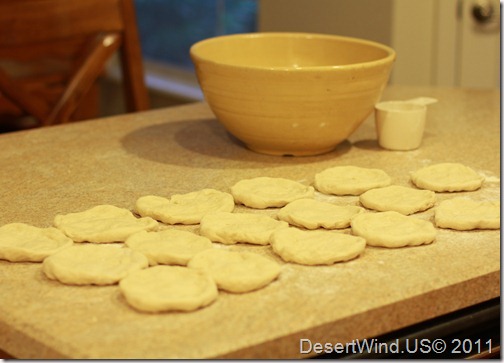
Divide your dough into lots of smaller dough balls (about 8 balls per loaf of dough prepared).  Gently flatten and stretch them into rounds, let rest for 5 minutes. After 5 minutes you can flatten/stretch them a little more, or decide good enough is good enough. That’s generally what I do.

blogbread4


So here is where you wait for the second rising. In theory. I never do, but it really is possible.

Next, heat a heavy pan with about 1/2”-1” of oil. I’d say medium to medium-high heat.

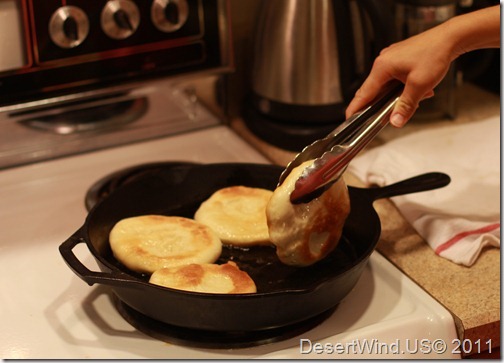
Now, fry your bread till it’s a nice golden brown on both sides.

Blogbread5

Not that hard, see?

Serve warm with honey butter, homemade jam, or (and I said it before) chili.  If you top with chili, go ahead and put some lettuce, tomatoes, salsa, sour cream, whatever on it.  It’s good stuff.

blogbread6


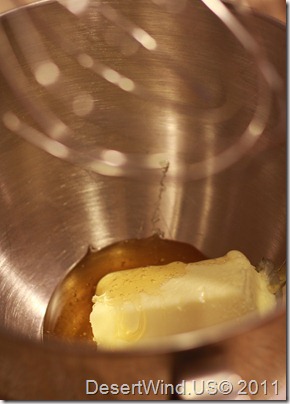
My favorite topping for fry bread is butter and my mom’s homemade peach jam. I’m out of jam, so I made honey butter instead.  I whipped one cube of softened butter together with a couple big tablespoons of honey that I wheedled out of my uncle when I visited this summer. It was very, very good.

BLOGBREAD7


IF you have leftovers (you never know), wrap them and eat within a few days. 

______________________________

*Really, are we ever done needing dough?

Categories: Cooking | Leave a comment

Iron Man 2: Sammy The Silly (Putty) Seal

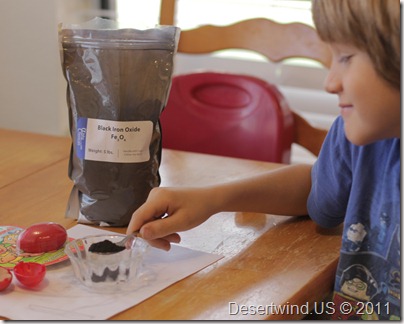
If you’re following along in our Iron Man series, you know that we still have most of the 5 pound bag of iron oxide powder (Fe3O4, or magnetite) we purchased off of Amazon.  It turns out that 5 pounds of iron oxide powder goes a long way. And it turns out that iron oxide powder mixes into Silly Putty very easily.

Read to the end for an “Attractive” giveaway. Oh, the Iron-y.

Materials:

  • Iron Oxide Powder (several tablespoons)
  • Silly Putty
  • Magnet


iron1a

1. Protect your work surface (old newspaper works great)


iron1b

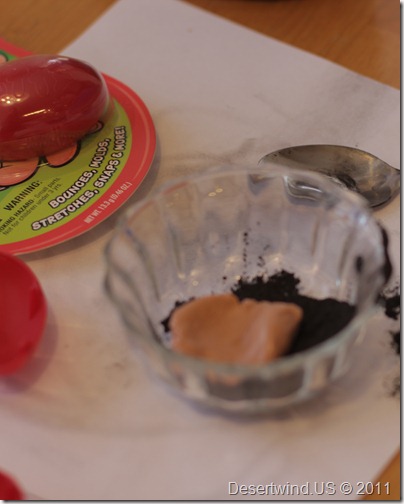
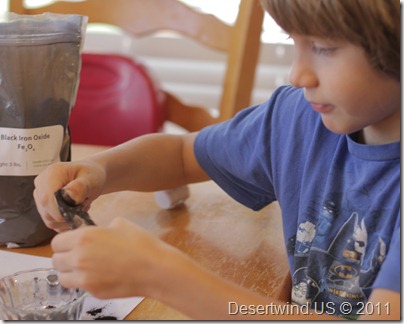
2. Incorporate iron oxide powder into the silly putty. Knead it like bread dough, squish it, stretch it, whatever it takes.


iron1c


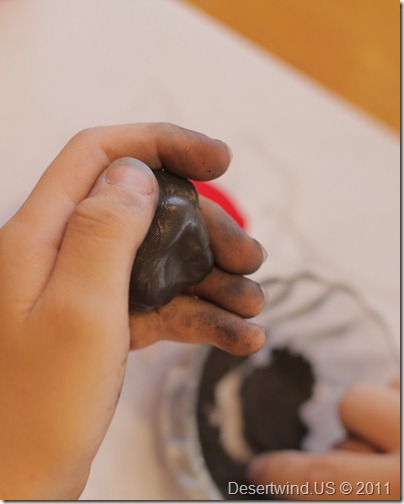
The final product should look very black and glossy.

iron1d

The Putty now has enough iron in it (Magnetite has a high percentage of iron  relative to oxygen – 3 iron atoms for every 4 oxygen atoms) to be attracted to a magnet.


And here’s a video we made after shaping the Silly Putty into Sammy, the Silly Putty Seal. Sammy was supposed to be a dog but all of our attempts at creating a dog ended in Seal.


We will probably add more iron oxide powder after this, and see if that makes things even more interesting.

If you try this, please take pictures or videos and post the link here! We’d love to see what you come up with.


Here the link to our previous project:  Iron Man 1: Reading a Magnetic Strip


Warnings:

Rare Earth Magnets work great for this, and we got ours out of an old computer hard drive.  If you acquire one,  be particularly careful around children.  Here’s a warning from one site: “Can damage computer gear & credit cards. Handle with care. 2 magnets can snap together with enough force to break a finger or shatter on impact.” If a child SWALLOWS one (or two) this can be VERY bad.  Let’s say like Emergency Surgery bad.

The bag of powdered iron oxide did tell us to consult the MSDS.  For those of you who have your own source of powdered iron (there are several good options) and decide that you will brave the hazards (this is sarcasm) of powdered iron, the gist of it is to not inhale huge plumes of the stuff.


Credit where credit is due:  We got this idea from Instructables.


GIVEAWAY!   Want to make your Putty attractive to fine magnets everywhere? The first 5 commenters (Continental US only) on the Iron Man posts will get 2 TBSP of my Magnetite Powder. Because I still have nearly 5 pounds of the stuff. Just indicate that you are interested in receiving it, and I’ll contact you via email.

Categories: Kids, Science | Tags: , , , , , , , , , | 3 Comments

Iron Man 1: “Reading” a magnetic strip

I like iron so much that I spent 2.5 years studying it in grad school, so when we started seeing experiments that utilized powdered magnetite (Fe3O4) I knew we had to come up with a series. That we created an entire “series” was necessary mostly to justify our Amazon purchase of 5-pounds of powdered magnetite.


Iron Man 1 (queue music) requires:

  • 1 sheet of paper (old newspaper is fine)
  • 1/2 tsp. powdered magnetite
  • An old card with a magnetic strip (library card, credit card, etc)


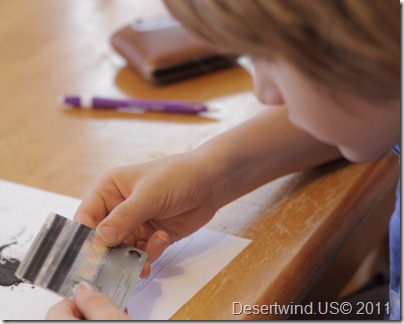
iron2a

1. Set the credit card down over a clean sheet of paper. Sprinkle 1/2 tsp. of powdered magnetite over the magnetic strip.

2. Gently tap the excess powder off.

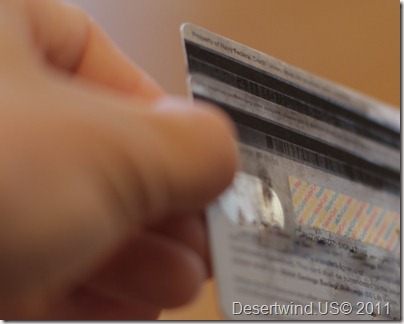
3. Angle the card into the light so that you can see the thin stripes on the strip:

iron2b


Why it works: 

  1. Cards with a magnetic stripe store data in magnetic particles.
  2. Magnets in the magnetic strip attract iron, and
  3. There is plenty of iron in Magnetite – Fe3O4 (Which means there are 3 iron (Fe) atoms for every 4 oxygen (O) atoms).

So, your powdered magnetite will be attracted to the magnetic stripes on your magnetic strip, leaving them (just barely) visible.


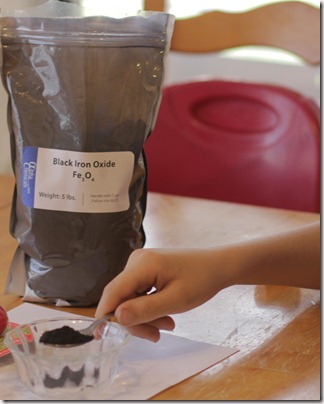
Our 5 pound bag of powdered magnetite (shown here for effect):

This is what a 5 pound bag of powdered magnetite looks like.

The bag of powdered iron oxide did tell us to consult the MSDS.  For those of you who have your own source of powdered iron (there are several good options) and decide that you will brave the hazards (this is sarcasm) of powdered iron, the gist of it is to not inhale huge plumes of the stuff.

Jason got the idea for this experiment from an article on io9.com.

Have fun!

Categories: Kids, Science | 1 Comment

Eggmosis – Osmosis with Eggs

A 2-for-1 experiment; Day 1 is an Acid-Base Reaction, Day 2-3 is the Osmosis Portion. Though it covers 3 days, the entire time spent on the project is 15-45 minutes.

DAY 1:

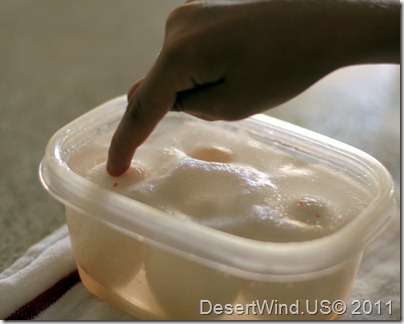
eggmosis1

Dissolving the shell
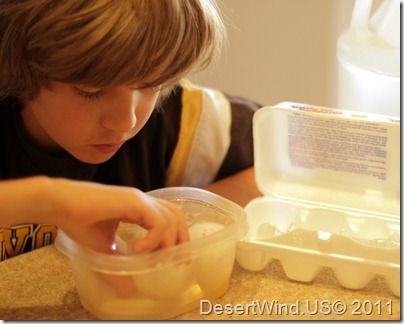
1) Place 4 eggs in a container, cover with white vinegar.
2) Add some “fresh” vinegar (or just replace with fresh vinegar)after about 8-12 hours.
Vinegar is an ACID; eggshells are made of calcium carbonate (BASE).


eggmosis 2

Reacting Acids and Bases
3) These are the eggs after about 2 hours. Look at all those CO2 bubbles!
4) You should have “naked eggs” (just the membranes) within 24-48 hours after starting
(For more on the chemistry: http://goo.gl/zOhCk)


DAY 2:

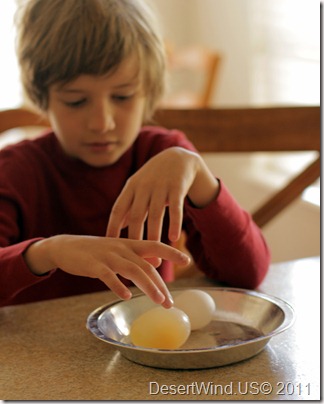
Eggmosis3

Naked Eggs
1) Remove and gently rinse your naked egg under running water. Compare it to a fresh egg. It looks (and feels) MUCH different now that the shell is gone!


Eggmosis4

2) Hold the egg up to light and look at the yolk. Boo said the egg feels like a water balloon.
3) Once the shell is off, the egg will get MUCH larger! This is due to osmosis – there is more water in the vinegar than in the egg. The water will diffuse from the area of high concentration (vinegar), into the area of low concentration (egg), across the membrane. Diffusion occurs until equilibrium occurs, (after that, exchange takes place at a steady rate).
(For an easy-to-follow definition and animation of diffusion and osmosis: http://goo.gl/IRxXi)


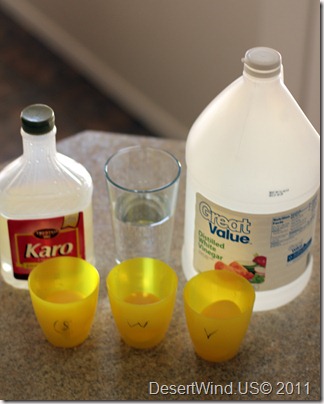
eggmosis5

Osmosis with Eggs
1. Label cups clearly for water, vinegar, and corn syrup.
2. Put one naked egg in each cup.


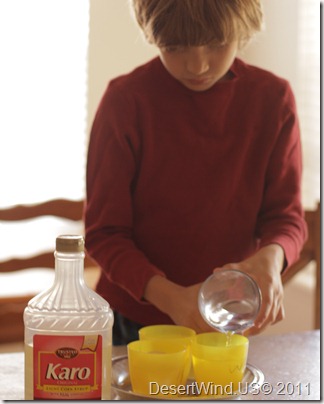
eggmosis6

3. Cover each egg with the appropriate liquid.


eggmosis7

Demonstrating Osmosis
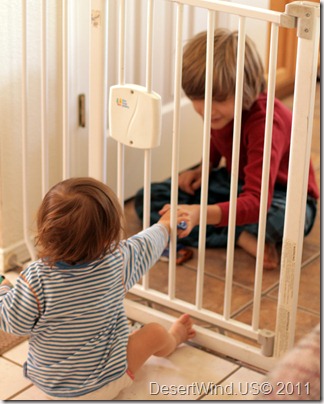
Thing 2  helps Thing 1 demonstrate diffusion across a selectively permeable barrier. With Matchbox cars and a baby gate.*
After the demonstration, Thing 1 came up with his hypothoses:
1) The egg in corn syrup will shrink, because Corn syrup doesn’t have water in it. The water will diffuse from the egg into the syrup.
2) The egg in the vinegar will stay the same size, because it’s already been soaking in the vinegar long enough that it is in equilibrium (same concentration of water in AND out of the egg)
3) The egg in the water will get even bigger, since there is a higher concentration of water in the water (!) than in the egg.
*Large stuffed animals were also involved, but since this is a SELECTIVELY PERMEABLE barrier, they were unable to cross and stayed in a corner by themselves.
Edited: For that matter, the children are also unable to cross this particular selectively permeable barrier. Who says parenting isn’t a science.


DAY 3:

eggmosis8

Osmosis Eggs
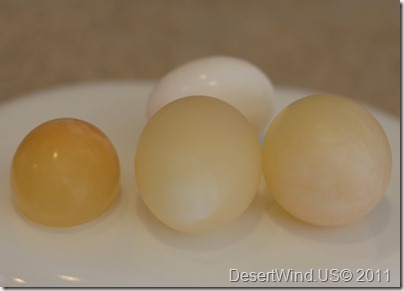
Having soaked overnight, the eggs are dramatically different in size and feel.
1) The naked egg soaked in corn syrup is the smallest
2) The naked eggs soaked in vinegar and water aren’t significantly different from each other, visibly. However, you can tell a distinct difference by touch (the naked egg soaked in water is much more taut).
This observation seems to confirm Andrew’s hypotheses from yesterday, but the fun isn’t over yet!


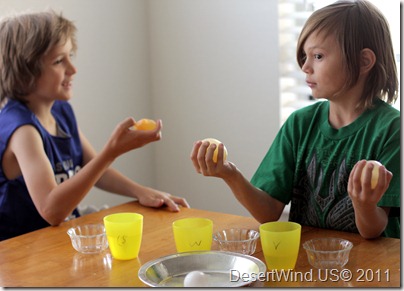
eggmosis9

Observation

3. How are the eggs different? How are they similar? What do you think caused the differences?


eggmosis10

The egg soaked in corn syrup looks much different than the fresh egg, too.


eggmosis11

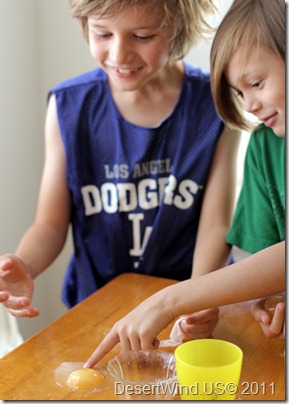
Breaking the Water Egg
Scientists always make the best of any “woops”. This is true.


eggmosis12

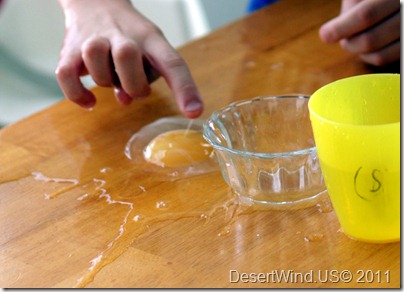
This surprised us! The absorbed water hadn’t been incorporated into the egg white or yolk. You can see the white and yolk intact in the middle of the huge splash of water. All of that water (plus the water on the boys’ shirts, plus the water on the floor) was inside the naked egg.


eggmosis13

Breaking the Vinegar Egg
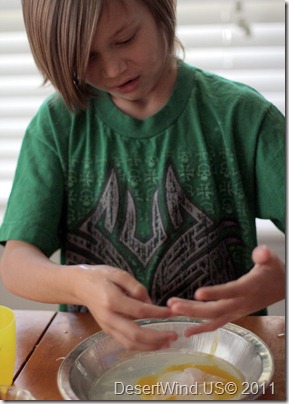
Squeezing till the egg broke was a bit grosser than he expected it to be (sometimes science is messy).


eggmosis14

Breaking the Corn Syrup Egg
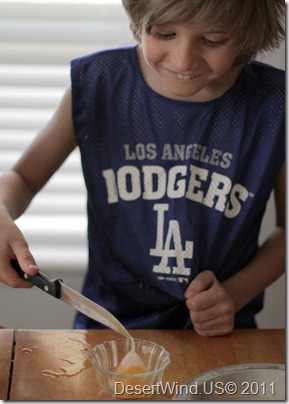
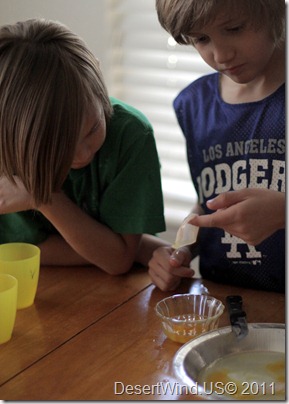
Because I’m the mean mommy, I didn’t let him squeeze this egg ’till it popped.
He *really* wanted to.


eggmosis15

More Observation

1) Look at the membrane (the consensus is that it feels like a flower petal).
2) Compare the volume of the broken Corn Syrup Egg to the volume of the broken Vinegar Egg. It’s pretty impressive; I wish we would have thought to measure the volume.


Who gets a Brownie Point? Did you notice we started with 4 Naked Eggs and finished with 3? That was my fault, not the kids!

Categories: Science | Tags: , , , , , , , , | 49 Comments